Mounting a Butcher Block or Slab Desktop Without Cracking It
The Wooden Stars is a participant in the Amazon Services LLC Associates Program. We may earn a commission when you buy through links on our site, at no extra cost to you.
A butcher block or slab desktop on a steel frame is the most-built desk of the last decade, and the most commonly cracked. The cause is nearly always the same: the top was bolted hard to a rigid frame, and then winter arrived.
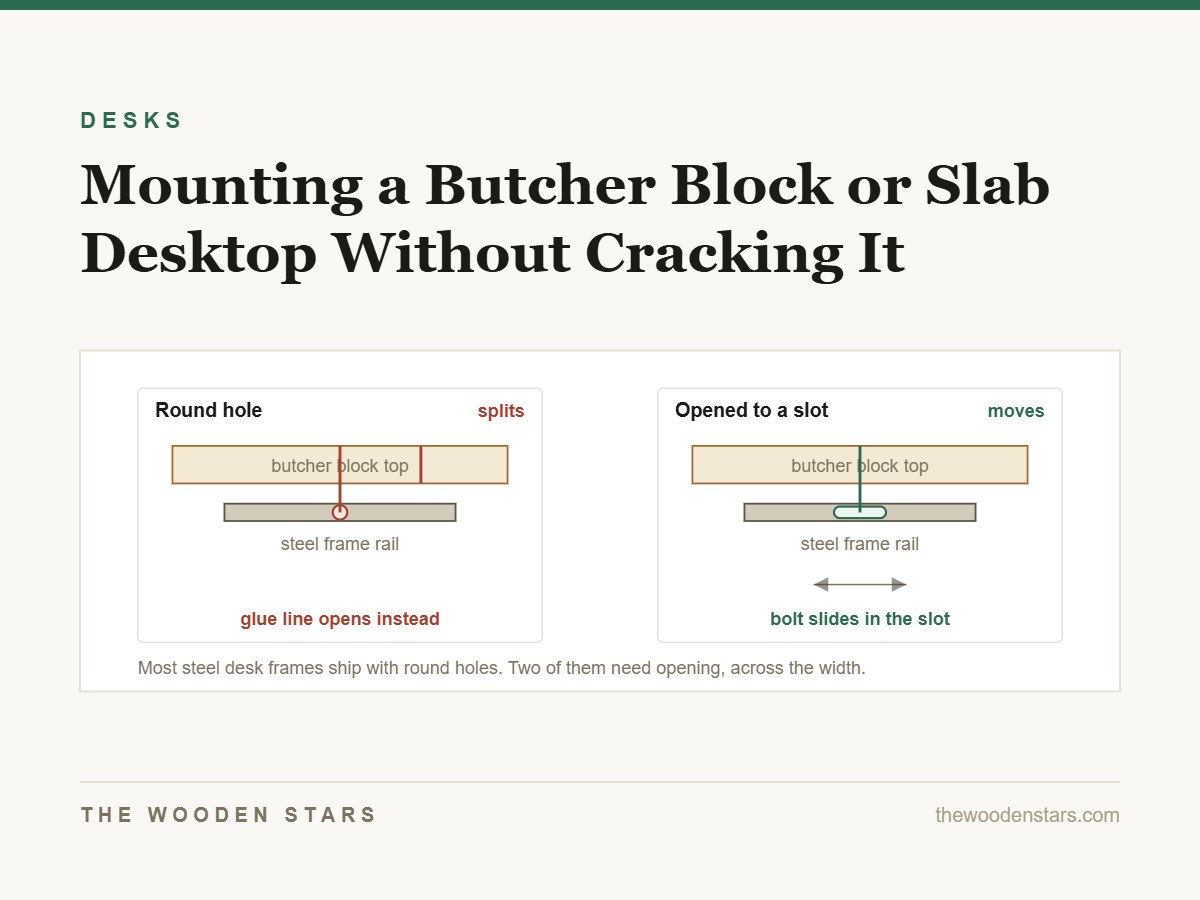
A 750 mm deep butcher block moves 3 to 6 mm across its width between a humid summer and a dry, heated winter. Bolt it to steel that moves nothing at all, and the wood loses — the glue lines split, usually near the middle, usually in January.
Fix a solid wood desktop so it can move across the grain and hold firm along the grain. Use Z-clips, figure-8 fasteners, or bolts through elongated slots in the frame with the washer snug but not crushed. Finish both faces, including the underside, or the top will cup. Rigid bolting through round holes is what cracks butcher block tops.
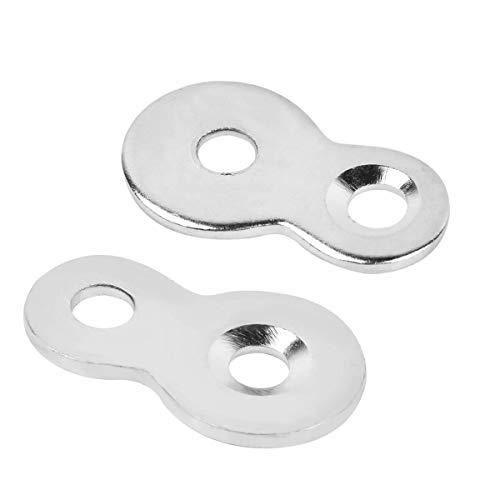
Start here: figure-8 fasteners need no groove, only a shallow recess, so they fit the frame you already have.

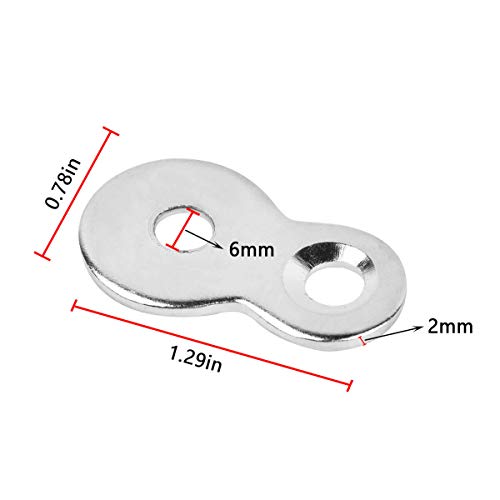
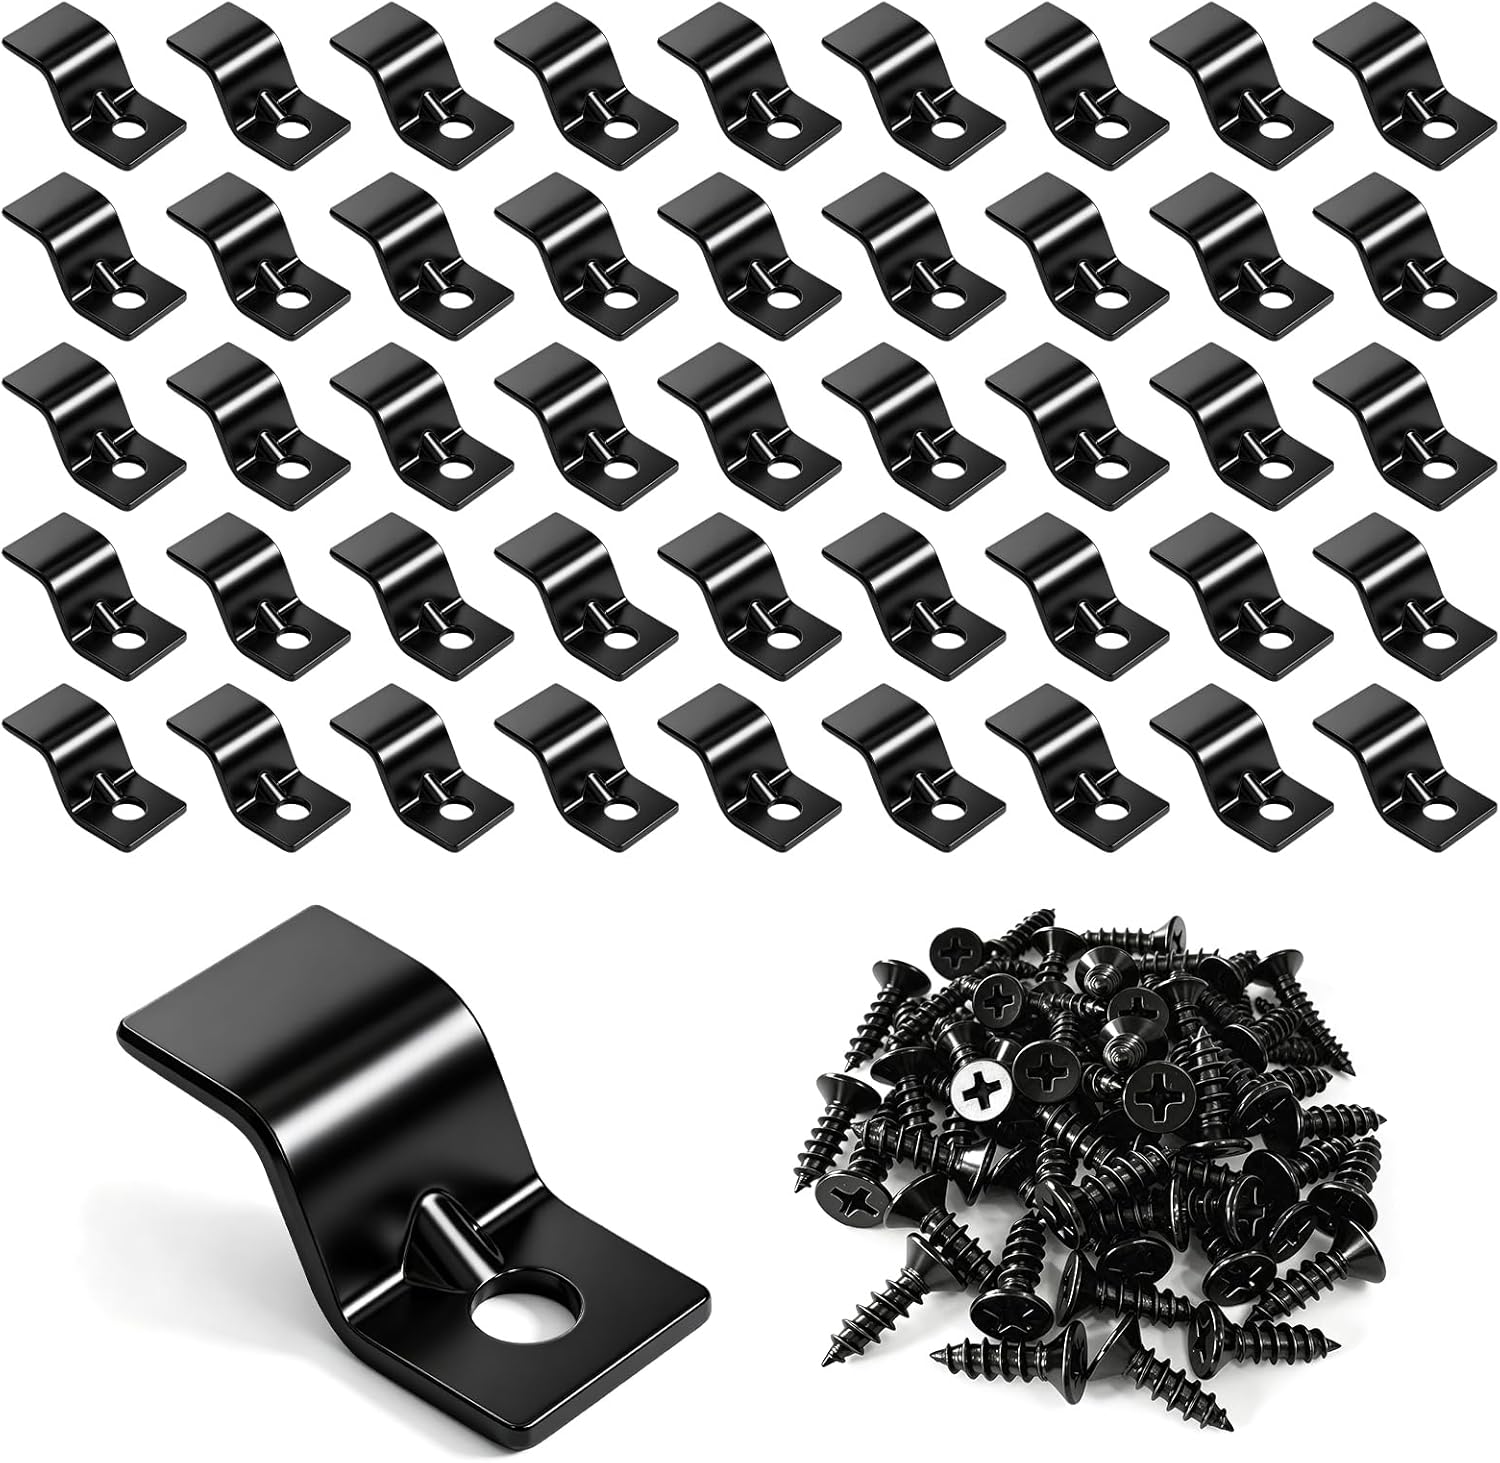
Prime 30 Pack Figure 8 Steel Desk Top Fastener Clip with Screws - Heavy Duty Figure-Eight Fasteners Clips Attaching a Table, Solid Steel, 12 Gauge


How much a desktop actually moves
| Depth of top | Oak / ash | Maple / beech | Walnut | Acacia |
|---|---|---|---|---|
| 600 mm | 3.0 mm | 3.5 mm | 2.5 mm | 3.0 mm |
| 700 mm | 3.5 mm | 4.0 mm | 3.0 mm | 3.5 mm |
| 750 mm | 4.0 mm | 4.5 mm | 3.0 mm | 4.0 mm |
| 800 mm | 4.0 mm | 5.0 mm | 3.5 mm | 4.0 mm |
Along the length, movement is well under a millimetre over two metres. That asymmetry is the whole design problem, and the whole solution: rigid along the length, sliding across the width.
One important exception: an end-grain butcher block (the chequerboard pattern) moves in both directions, roughly equally. Those need to float on every side.
The three correct fastening systems
Z-clips
A steel Z sits in a groove cut in the inside face of the frame or apron and screws up into the underside of the top. As the top moves, the clip slides along the groove. Neat, invisible, and the standard solution for a top over a wooden apron.
Requires a groove — cut with a biscuit joiner or a router with a slot cutter, about 10 mm below the top edge. If your frame is steel, this option is out unless the steel already has a slot.
Figure-8 fasteners
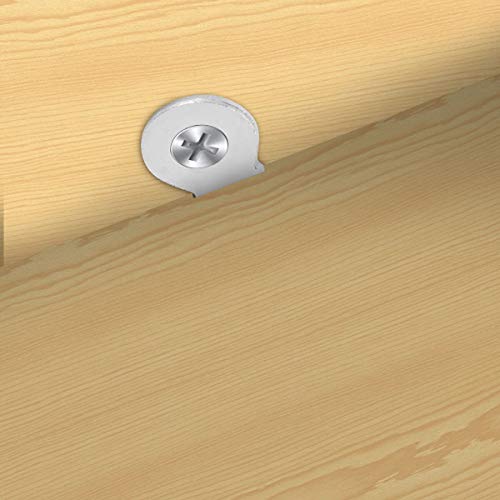
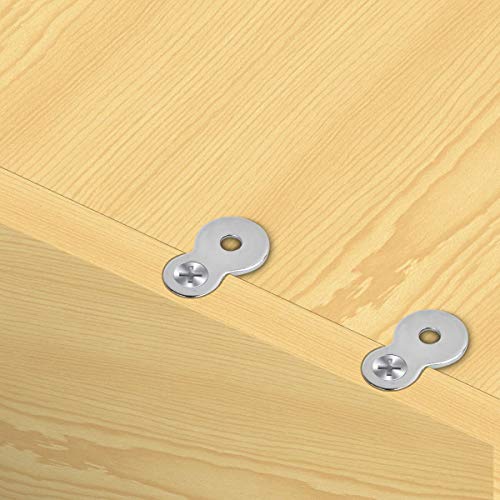
A steel figure of eight, one loop recessed flush into the top edge of the frame, the other screwed to the underside of the top. The fastener pivots, allowing movement. No groove needed — just a shallow recess from a Forstner bit — which makes it the best choice for a thick trestle or a wooden frame with no groove.
Bolts through elongated slots
The correct answer for a steel frame, which is what most butcher block desks use. Almost all steel desk frames come with round holes; the fix is to file or drill two of them into slots running across the width of the top, then bolt through with a washer done up firm but not crushing. The bolt can then slide within the slot.
Keep one fixing point rigid — usually the centre, along the front rail — so the top is located and does not creep. Everything else floats.
| Frame | Use | Spacing |
|---|---|---|
| Wooden apron with a groove | Z-clips | Every 250–300 mm |
| Wooden apron, no groove | Figure-8 fasteners | Every 250–300 mm |
| Steel desk frame with round holes | Elongate the holes into slots | Use all mounting points |
| Steel frame, cross-braced | Slots plus one central rigid point | As the frame provides |
| Trestle base | Figure-8s | 2 per trestle rail |
| Sit-stand frame | Slots — movement matters more, the frame is stiffer | All points |
| End-grain butcher block | Slots in every direction | Every 250 mm |
Finishing: the step that decides whether it cups
A solid top finished on the show face and left bare underneath will cup, and it will cup with the unfinished face becoming convex. This is not a maybe; it is what happens when one face exchanges moisture with the room faster than the other.
So: finish the underside. One coat of whatever you are using on the top is enough, and it does not need to look good — nobody will see it. Also finish the edges, and especially the end grain, which absorbs moisture several times faster than face grain.
For a desk specifically, a hard wax oil is usually the best choice: it feels like wood under your forearms, it resists the coffee that will inevitably arrive, and it spot-repairs without stripping the whole top. Film finishes are more durable and feel more like plastic; penetrating oils feel best and offer least protection. The full comparison is in our guide to choosing a table top finish.
The order of operations
- Let the top acclimatise in the room for at least a week before fixing anything. A block that arrives from a warehouse is not at your house’s moisture content, and fixing it down before it settles builds the stress in from day one.
- Finish both faces and all edges. Before fitting, while you can reach everything.
- Lay the top face down on a blanket and position the frame on it. Check the overhangs.
- Mark and drill pilot holes — and check the screw length against the top’s thickness. A 30 mm screw into a 26 mm top comes through, and you will have found out the expensive way.
- Fit the fasteners, keeping the across-width ones free to slide.
- Turn it over, and check flat. A straightedge across the width in two or three places.
Pilot holes matter more than people expect in butcher block: it is a glued-up panel, and driving a screw dry near a glue line can split along it.
What you need
- Table top Z-clips with screws For a wooden apron with a groove On Amazon →
- Figure-8 fasteners, 30 pack No groove needed, just a shallow recess On Amazon →
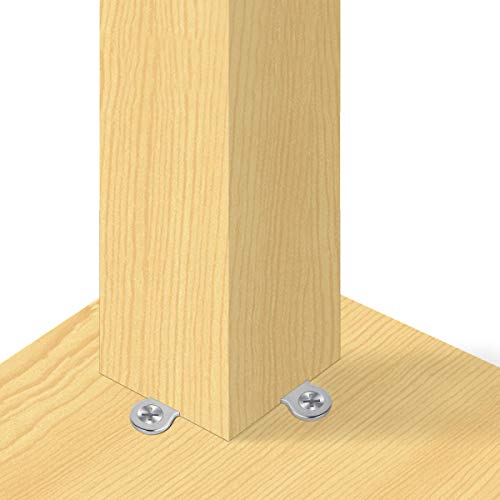
- Leg mounting plates For attaching legs directly to a slab with no apron On Amazon →
- General Finishes Arm-R-Seal Durable topcoat; do the underside too On Amazon →
- Forstner bit and a Sharpie The recess for a figure-8, and marking before drilling
What to buy
Figure-8s for a wooden frame, Z-clips if it has a groove, mounting plates if legs bolt straight to the slab.


Attaching legs directly to a slab
If there is no frame at all — hairpin legs, or turned legs bolted straight to the underside — the load path is completely different. All the leverage from any sideways push lands on a small group of screws in the underside of the top.
- Use mounting plates, not screws into the leg. A plate spreads the load over four or more screws.
- Screw length is critical — long enough to hold, short enough not to break through. On a 26 mm top, 16 to 19 mm screws.
- Set the legs in from the corners, not right at them: 40 to 60 mm in gives the screws surrounding material instead of end grain and a corner.
- Expect to re-tighten after a few months. Wood compresses under the plate; that is normal and a washer helps.
The same mounting plates are the standard failure point on low tables — there is more on that in our guide to wobbly side tables and hairpin legs.
Questions we get asked
My steel frame only has round holes. Do I really need to slot them?
If the top is solid wood, yes. Two of the holes, in the direction across the top’s width, filed or step-drilled into 8–10 mm slots. It takes ten minutes and it is the difference between a top that lasts and a top that splits in its second winter. If the top is plywood or a veneered panel, round holes are fine.
How thick should a butcher block desktop be?
25 mm is workable on a frame with a cross-brace; 32 to 38 mm feels solid and stays flat over long unsupported spans; over 45 mm you are mostly adding weight. What matters more than thickness is support spacing — a 25 mm top on a frame with a mid-span brace beats a 38 mm top spanning 1.6 m unsupported.
Can I use IKEA-style tops on any frame?
Physically yes. The two things to check are thickness against your fastener length, and whether the top is solid staved wood or a veneered particleboard lookalike — the two need opposite fastening strategies. The edge test on our wood types hub tells you which you have in about five seconds.
Do I need to seal the cable grommet hole?
Yes, and people forget. A hole cut through a finished top exposes raw end grain in the middle of the panel, and that is a moisture route straight into the core. A coat of finish inside the hole, applied with a cotton bud, is enough.
The top already cracked. Can I fix it?
If it split cleanly along a glue line with no torn wood, yes: free the top from the frame, clean both faces, re-glue and clamp, then refit with sliding fasteners so it does not happen again. Our guide to re-gluing a loose joint covers the technique — and the fastener change is the part that matters, because a repaired top under the same restraint will split again.