How to Fix Scratches on Wood Furniture: Four Depths, Four Repairs
The Wooden Stars is a participant in the Amazon Services LLC Associates Program. We may earn a commission when you buy through links on our site, at no extra cost to you.
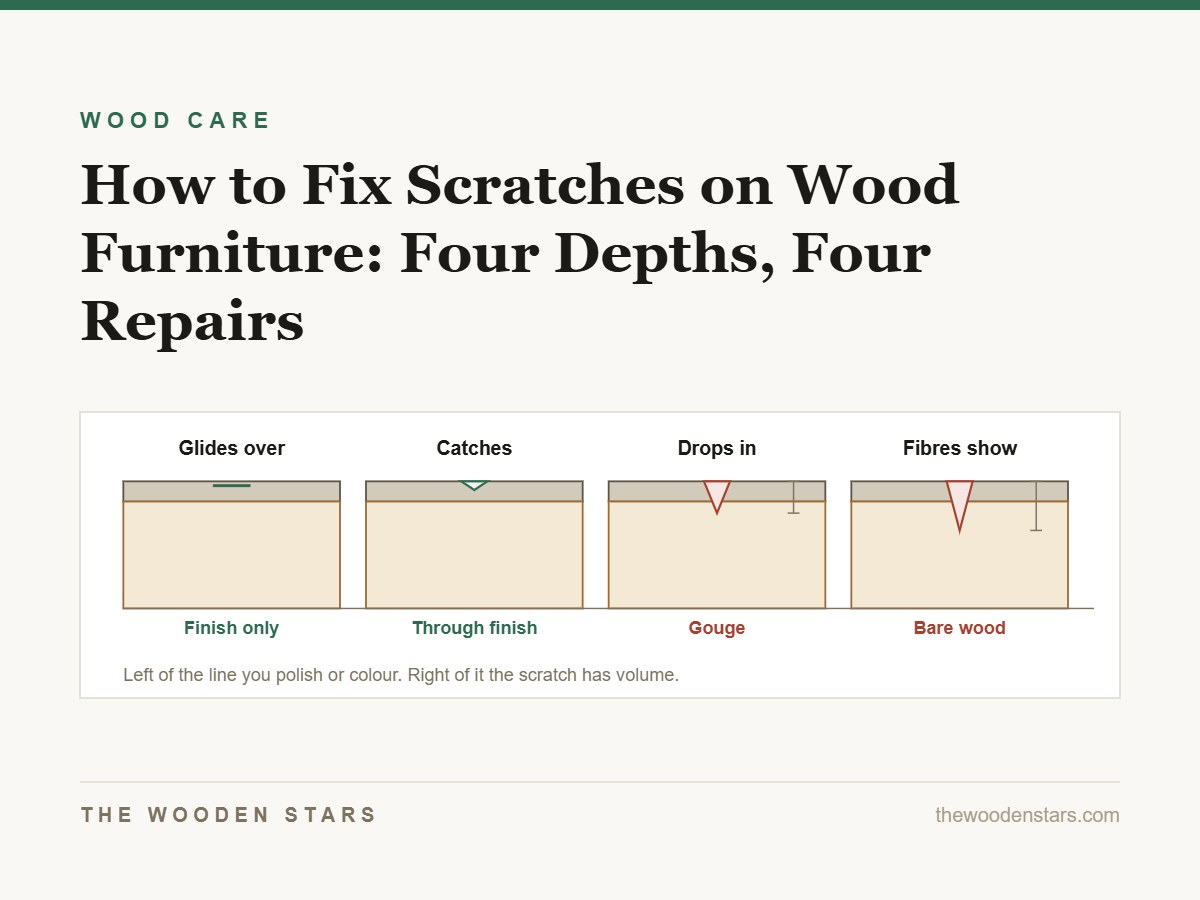
Every scratch on a piece of wooden furniture belongs to one of four depths, and the depth — not the length, not how bad it looks — decides the repair. Get the depth wrong and you either do far more work than the scratch needed, or you fill something that should have been polished and leave a shiny scar that is more obvious than the original mark.
There is a two-second test that tells you which of the four you have: drag a fingernail across the scratch. What your nail does tells you almost everything.
If your fingernail glides across the scratch, it is in the finish only — polish or a restorer will remove it. If your nail catches slightly, it is through the finish into the top of the wood — a touch-up marker plus wax fills it. If your nail drops into it, it is a gouge and needs wax filler sticks or wood filler. If you can see pale, fuzzy wood fibres, you are through to bare wood and it needs colour before anything else.
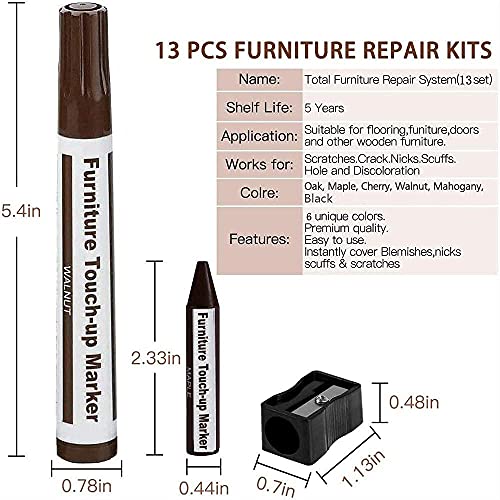
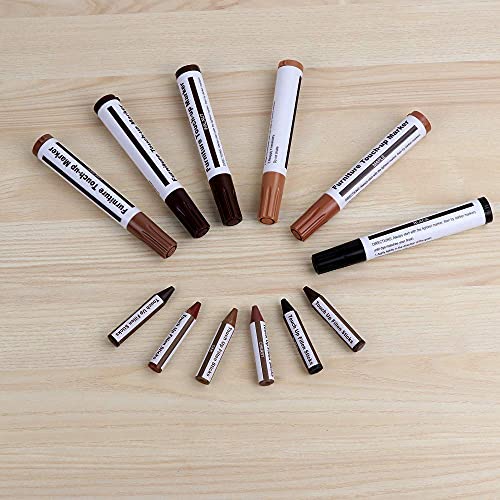
Start here: one kit with markers and wax sticks covers the two middle depths, which is where almost every scratch lands.

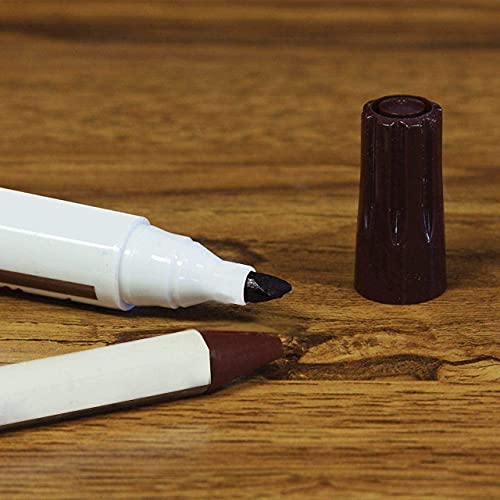
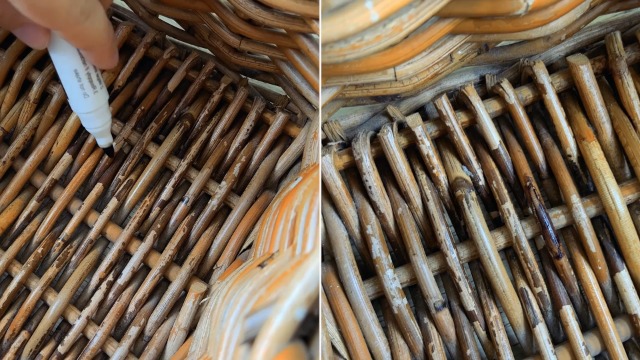
Prime Furniture Repair Kit Wood Markers - Set of 13 - Markers and Wax Sticks with Sharpener Kit, for Stains, Scratches, Wood Floors, Tables, Desks, Carpenters, Bedposts, Touch Ups, and Cover Ups


The four depths, and what each one needs
| Fingernail test | Depth | What it is | Repair |
|---|---|---|---|
| Glides straight over | Surface | A scuff in the finish | Polish, then wax |
| Catches faintly | Through the finish | Finish cut, wood untouched | Restorer or touch-up marker |
| Drops in, but shallow | Into the wood | A scratch | Marker for colour, then wax stick |
| Drops in deeply | Gouge | Wood removed | Wax filler stick or wood filler, then colour |
| Pale fuzzy fibres visible | Bare wood | Torn fibres, no colour left | Colour first, always |
One nuance worth knowing: a scratch that looks white is not necessarily deep. White comes from light scattering in a cracked finish, and a cracked finish can be very shallow. A restorer that re-flows the finish makes those disappear entirely, which is why they are the most satisfying repair on this list.
Surface scuffs: polish, do not fill
These are the marks a dinner plate leaves, or a laptop dragged across a desk. The finish is scuffed, nothing is missing. A finish restorer applied with 0000 steel wool with the grain softens the top few microns of finish and lets it flow back together. Wipe, dry, wax. There is nothing to fill and filling it will look worse.
If a whole area is scuffed rather than a single line — the zone in front of a chair, say — treat the whole area rather than the individual marks, or you will end up with a patchwork of sheens.
Scratches through the finish: colour, then wax
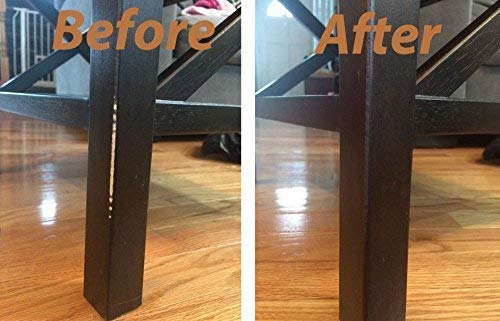
This is the biggest category by far, and the one the repair-kit markers exist for. The sequence matters:
- Clean the scratch. Any wax or polish left in it stops the colour taking. A cloth with mineral spirits, then let it dry completely.
- Choose the colour one shade lighter than you think. Wood scratches read dark because they are in shadow, so people reach for a darker pen and end up with a black line. Lighter blends; darker shouts.
- Apply the marker, wipe within seconds. The colour you want stays in the scratch; the colour on the surrounding finish comes off. Waiting is the single most common mistake.
- Build up in layers rather than pressing harder. Two light passes look like wood; one heavy pass looks like a felt-tip pen.
- Wax over the top to bring the sheen back level.
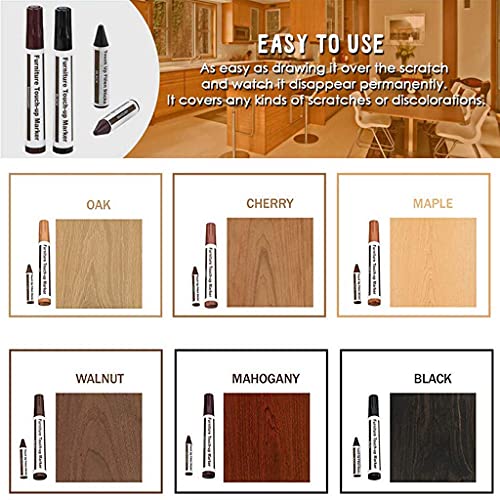
Most kits ship six to thirteen colours because furniture is rarely one colour. Test on the underside of the table or the back of a drawer before you touch a visible surface — every kit has a colour that looks right in the packaging and orange on your particular oak.
Gouges: fill, then colour
A gouge has volume, so something has to go into it. There are two families of filler and they behave very differently.
Wax filler sticks are soft, take no drying time, and are burnished flush with a plastic scraper or a credit card. They accept marker colour on top reasonably well and they are reversible — if you hate the result, warm it and scrape it out. They will not hold on an edge or anywhere that gets handled, and they will not take a finish over the top. Use them on horizontal surfaces, in the middle of a panel, where the repair only has to look right.
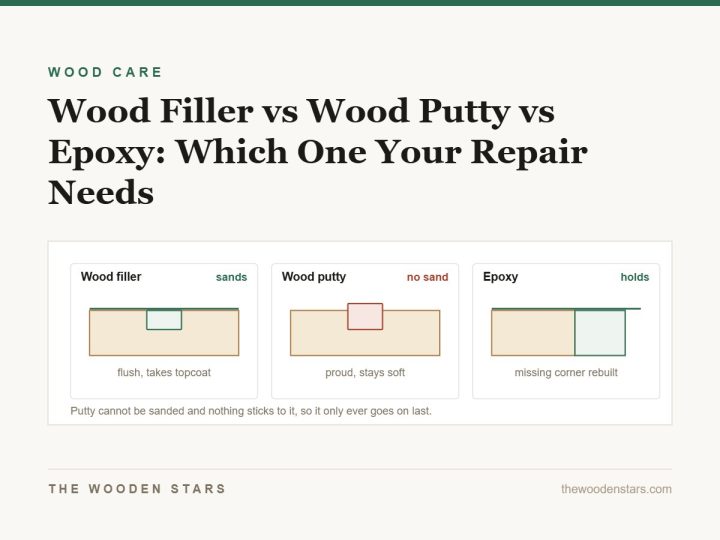
Hard fillers — wood filler, epoxy putty — cure solid, sand flush, and take finish over the top. They are the correct choice on an edge, a corner, a table leg, or anywhere structural. They are also the choice when the repair has to survive a refinish later. The trade-off is that they shrink slightly and never quite take stain the way real wood does, which is why they get colour painted on rather than stained in. Our comparison of filler, putty and epoxy works through exactly which one each repair needs.
Bare wood: colour before anything else
If you can see pale fuzzy fibres, the wood has lost its colour and any filler or wax you put in will sit in a pale halo. Wet the area with a damp cloth first — that tells you what colour the wood will be once finished, which is usually two shades darker than it looks dry. Then colour with a marker or a dab of matching stain, let it dry, and only then fill or wax.
Torn fibres also need to be laid down, not sanded off. A drop of water swells them, and once dry they can be burnished flat with the back of a spoon. Sanding at this stage removes more colour and widens the mark.
What this repair actually takes
- Repair kit with markers and wax sticks Covers depths two and three in one box On Amazon →
- Wax filler sticks For gouges on horizontal surfaces On Amazon →
- Touch-up marker set, 12 colours When your wood is not in the first kit’s range On Amazon →
- Restor-A-Finish For surface scuffs and white scratch lines On Amazon →
- Plastic scraper or an old card Burnishing wax flush, without scratching
What to buy
Buy by depth: kit for depths two and three, restorer for surface scuffs, wax sticks for gouges on a flat surface.


Species changes the answer
Two woods scratch in ways worth planning around:
- Open-grained woods — oak and ash — hide scratches better than anything else, because the eye is already reading texture. A repair on oak can be genuinely invisible.
- Close-grained pale woods — maple, birch, beech — show every mark, and show every repair too. Work in more, lighter layers here than you think you need.
- Walnut darkens with age at the surface and lightens where scratched, so a fresh scratch on old walnut reads very pale. Colour it to the aged surface, not to the walnut in the colour chart.
- Rubberwood and mango, common on mid-price furniture, vary in colour board to board. Match to the board you are repairing, not to the piece.
If you are not sure what you are working on, the identification checklist on our wood types hub takes about a minute.
Questions we get asked
Do walnuts really fix scratches?
Rubbing a shelled walnut along a shallow scratch deposits oil that darkens the exposed wood, and on a light scratch in a dark wood it genuinely helps. It is temporary and it does nothing for anything deeper than the finish. Treat it as a party trick that occasionally works, not a repair.
Should I use a marker or a stain pen?
They are usually the same thing sold under two names. What matters is that it is a dye or pigment in a solvent that flashes off quickly, so you can wipe the surplus. Avoid anything oil-based and slow-drying for scratch work — it stays workable long enough to smear.
Can I fix scratches on a veneered top the same way?
Yes, for depths one and two — the finish and the veneer surface behave like solid wood. For gouges, no: veneer is often less than a millimetre thick, so a gouge has already reached the substrate. Fill with a hard filler and colour it, and never sand a veneered top by hand beyond the lightest pass.
How do I fix a scratch on a dark, high-gloss table?
Gloss is the hardest case because any repair leaves a sheen difference and gloss shows it. Colour the scratch, then bring the sheen back with an abrasive polish rather than wax — wax on gloss reads as a dull patch. Work outward from the repair so the transition is gradual.
My whole table top is covered in fine scratches. Is that different?
It is, and it is usually better news. A haze of fine scratches is wear in the finish, not damage to the wood, and a restorer plus wax across the whole top will take most of it out in one pass. Do not try to treat individual lines.