How to Re-Glue a Loose Chair or Table Joint So It Stays Fixed
The Wooden Stars is a participant in the Amazon Services LLC Associates Program. We may earn a commission when you buy through links on our site, at no extra cost to you.
A wooden chair that rocks, a table that shifts when you lean on it, a bed that creaks — nine times out of ten the wood is fine and a glue joint has let go. And nine times out of ten, the repair fails within a year, because the person doing it squeezed fresh glue into the gap and clamped it.
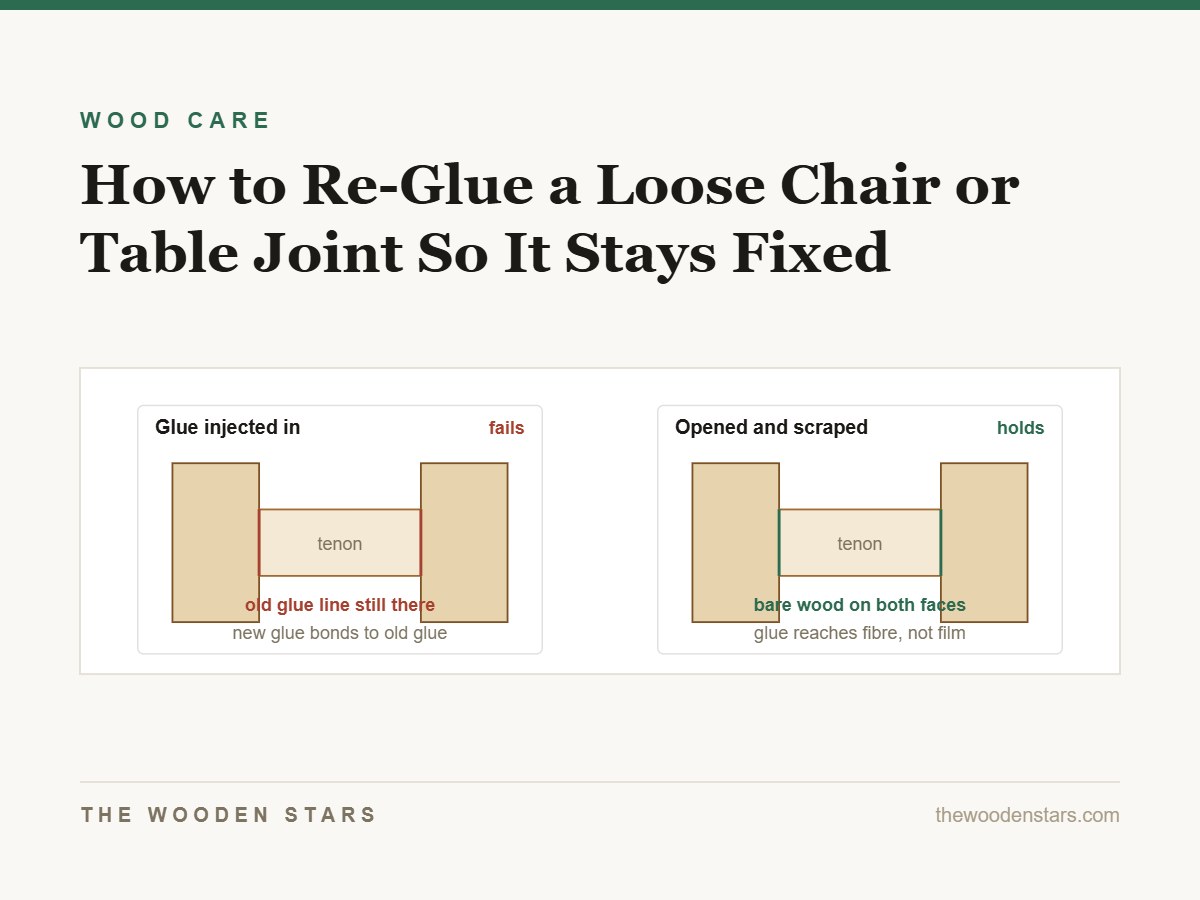
Fresh glue will not stick to old glue. That single fact is the whole difference between a repair that outlasts the furniture and one that comes apart next winter.
A loose joint has to come fully apart, both faces scraped clean of old glue, and then be re-glued and clamped. Injecting glue into a joint that is still assembled traps the old glue line and the repair fails. Use PVA wood glue (Titebond Original or III), clamp for at least an hour, and leave it 24 hours before putting weight on it.
Start here: Titebond III buys you longer working time than the original, which matters more than strength on a first repair.

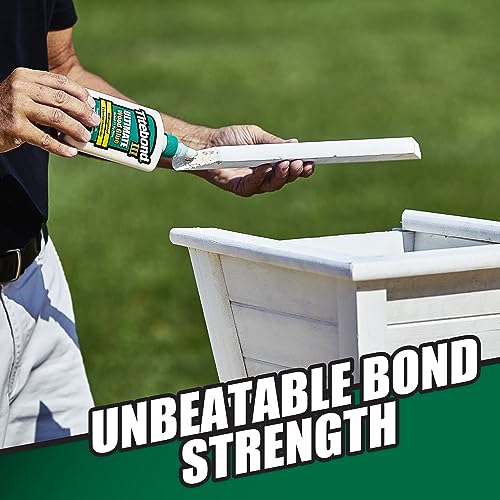
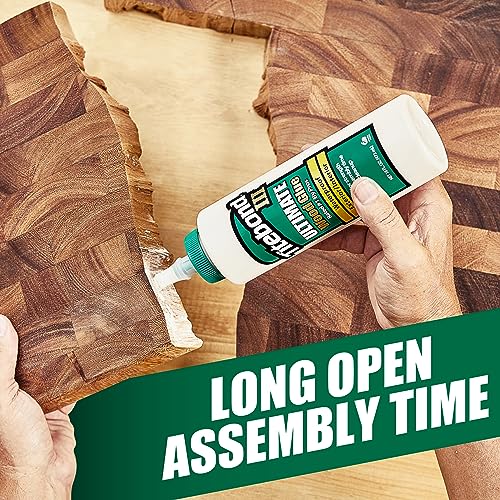
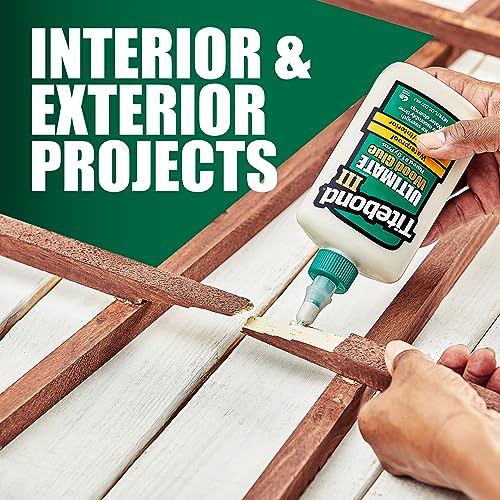
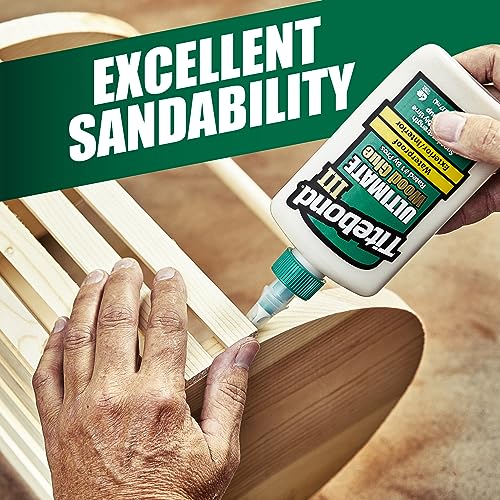
Prime Titebond III Ultimate Wood Glue, 16-Ounces #1414


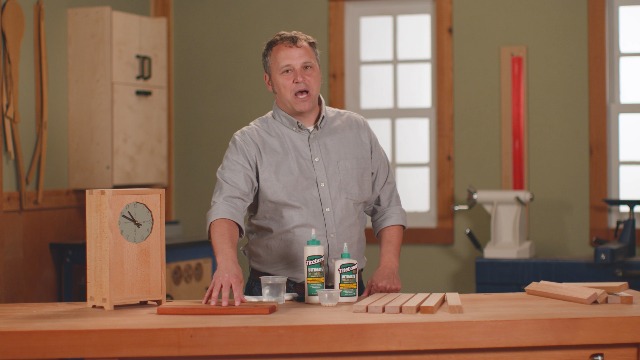
Why the joint failed in the first place
Knowing the cause tells you whether re-gluing is enough or whether the joint needs reinforcing.
| Cause | Sign | Re-glue enough? |
|---|---|---|
| Seasonal movement fatigue | Old piece, joint loose but tight-fitting | Yes |
| Racking load (leaning back on a chair) | Rear leg joints loose, front ones fine | Yes, plus a corner block |
| Hide glue failure | Old furniture, glue crystalline and brittle | Yes — hide glue re-sticks to itself |
| Wallowed-out mortise | Joint loose even dry-fitted, wobbles in the hole | No — needs shimming or a bushing |
| Screwed, never glued | Flat-pack or budget piece, screw holes stripped | No — needs threaded inserts |
| Broken tenon | Joint pulls apart with wood attached | No — needs a new tenon or a dowel repair |
That third row is worth pausing on. Furniture built before roughly the 1950s is usually assembled with hide glue, which is reversible with heat and moisture and — unusually — sticks to itself. If you can identify hide glue (it looks like brittle amber crystals and softens with a hot damp cloth), the repair is much easier: soften, reassemble, done. Modern PVA does not have that courtesy.
The repair, in order
1. Take it apart properly
Wiggle the joint fully open. If it resists, do not force it — protect the wood with a block and tap it apart with a rubber mallet, working the joint back and forth. On a chair, this usually means taking out more than one joint, because a chair frame is a single system and one loose rail cannot be clamped without the others closing up wrong.
Number the parts with masking tape as they come off. Chair rails are near-identical and putting one back in the wrong socket is a repair you will do twice.
2. Remove all the old glue
Scrape both mating faces back to bare wood. A chisel held flat, a utility knife, or a strip of coarse sandpaper wrapped around a dowel for round mortises. Old PVA comes off in flakes; hide glue softens with warm water and a cloth. You are aiming for wood you can see the grain of, not wood with a thin film on it.
Do not sand the tenon so aggressively that the joint becomes loose. Glue is strong in a thin film and weak in a thick one — a joint should go together with hand pressure and stay there.
3. Dry-fit before you open the glue
Assemble the whole thing without glue and check that it closes up square and sits flat. Fit the clamps too. Glue gives you about five minutes of working time and discovering that a clamp does not reach is not something you want to discover during those five minutes.
4. Glue, clamp, and wipe
Coat both faces thinly. Clamp until a small bead of squeeze-out appears along the joint line — that bead is the signal that the joint is full, and it is the only reliable one. Wipe the squeeze-out off immediately with a damp cloth; dried glue on the surface will not take stain or finish and shows up as a pale patch forever.
For chairs and picture-frame-shaped assemblies, a band clamp (a strap that pulls all four corners at once) does what four bar clamps cannot: it applies even pressure around a shape that is not rectangular. It is the single most useful clamp for furniture repair and the one most people do not own.
5. Wait longer than the bottle says
Clamp time and cure time are different numbers. PVA is handleable in an hour and at full strength in 24. A chair re-glued and sat on the same evening will fail at the joint you just repaired.
What this repair actually takes
- Titebond III wood glue Waterproof, longer open time, use for anything near moisture On Amazon →
- Titebond Original The standard for interior furniture, fastest tack On Amazon →
- Band clamp, 13 ft Pulls a chair or frame square in one pass On Amazon →
- Rubber mallet and a scrap block Taking joints apart without bruising the wood
- Chisel or utility knife Scraping the old glue line back to bare wood
Which glue, honestly
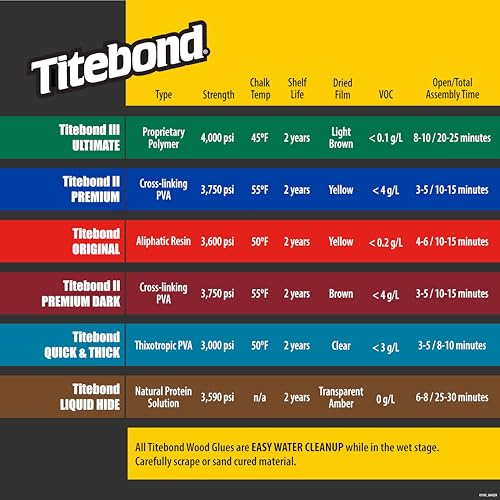
- Titebond Original (yellow PVA) — the default for interior furniture. Tacks fast, sands cleanly, very strong. Not water-resistant.
- Titebond III — waterproof, longer open time, slightly darker glue line. Worth it on anything that will meet moisture, and worth it for beginners purely for the extra working minutes.
- Polyurethane glue — foams as it cures, which people mistake for gap-filling strength. The foam has no strength. Avoid for furniture joints.
- Epoxy — the right answer when the joint is genuinely loose and you cannot make it tight again, because epoxy does have gap-filling strength. Slower, messier, not reversible.
- Hide glue — the right answer on antiques, and the only glue that sticks to its own residue. Also reversible, which matters if you care about the piece’s future.
What to buy
Titebond III for anything near moisture or if you are new to this; Original if you want the fastest tack.


When re-gluing is not the answer
A wallowed-out mortise — the hole has worn oval and the tenon rattles even dry. Glue alone will fail again. Shim the tenon with veneer or a thin slip of the same species, glued on and trimmed to fit, so the joint is tight again before you glue it properly.
Stripped screw holes on a piece that was screwed rather than glued. This is most flat-pack and much budget solid-wood furniture. The fix is a threaded insert: drill out the stripped hole, screw in a metal insert, and bolt into that instead. It is stronger than the original was.
A broken tenon. If wood came away with the joint, you need a new tenon — either a loose tenon set into slots cut in both parts, or two dowels drilled through the joint. This is real woodworking and takes a drill guide to do accurately.
For a table specifically, a loose leg joint often shows up as wobble long before it shows up as a visible gap. Our guide to fixing a wobbly dining table works through the five causes in the order to check them, and joint failure is only one of them.
Questions we get asked
Can I just inject glue into the joint with a syringe?
It is a legitimate technique with one legitimate use: a joint that is only slightly loose, where you can flex it open enough to get glue onto clean wood on both faces. On a joint with an intact old glue line, you are gluing new glue to old glue, and that bond is weak. Injecting works far less often than the internet suggests.
Will screws hold the joint instead?
A screw across a loose mortise-and-tenon acts as a pin, not a fix — it stops the joint falling apart while doing nothing about the looseness, and it splits the rail eventually. If you want mechanical reinforcement, use a corner block or a metal brace, which spreads the load instead of concentrating it.
How much clamping pressure is right?
Enough to close the joint and produce a small squeeze-out bead, and no more. Over-clamping starves the joint by squeezing all the glue out, and it can bow rails. If the joint needs heavy force to close, something is out of alignment — stop and dry-fit again.
Do I need to remove the finish around the joint?
Only where glue will touch. Glue on finish is a glue-to-finish bond, which is as weak as it sounds. Scrape a narrow margin back to bare wood inside the joint area; leave the visible surfaces alone.
The chair squeaks but is not loose. Same fix?
No. A squeak without movement is usually two surfaces rubbing — a slat against a rail, a screw against wood. Wax on the contact face silences it. A squeak with movement is an early loose joint, and that one is on the ladder above.